
llm cli and local ollama
Over the past month or so, I have extensively used the llm CLI to explore new LLM prompts, particularly to save time and effort on naming variables and writing commit messages.
The main attraction of these types of tools is their ability to use a local model, even without an internet connection, thus avoiding the need to send everything to the cloud.
Who is this for
This guide is intended for developers and power users who wish to manage their LLM workflows and reap the advantages of local models.
Table of Contents
- Install ollama
- Machine specs
- Install LLMs
- Direct Use
- Install llm cli
- llm Direct Use
- llm with templates
- Conclusions
Install ollama
The first step is to install ollama. ollama is a tool that simplifies the process of running local LLMs.
Depending on your platform, you may wish to follow the installation instructions here.
If you would prefer to skip the reading:
- on MacOS, if you are using brew, you can run the command:
brew install ollama - on Arch-based Linux distros, you can use the command
pacman -S ollama-rocmif you have an AMD GPU, orpacman -S ollama-cudaif have a lot of money and can afford an Nvidia GPU
Machine specs
Once you have installed the ollama tool, you may well question whether it was a good idea after all. To run local LLMs, you need a powerful GPU and, most importantly, lots of memory (especially GPU memory).
On macOS, the integrated GPU can utilise the unified memory fully. On any other machine, you need a powerful GPU; otherwise, everything will be very slow.
Even I can’t run the biggest models on my powerful machines, and the ones that do run are not that fast.
Machine 1: MacBook Pro M2 with 16GB of memory (enough for most of 7b models) Machine 2: RX7900XT with 20GB of VRAM and 32GB or RAM (just enough for some 70b models, such as Llama 3.3, and mostly OK for 24b and 32b models).
If you’re overwhelmed by all these numbers and don’t know about your machine’s memory, you might as well give up and pay OpenAI to make your wallet lighter. Alternatively, you can try to follow along, but there’s a high probability that you’ll end up with small LLMs (maybe Llama 3.2) that run really slowly (almost “take a coffee for each question” slow).
Install LLMs
Once ollama is installed, it’s fairly easy to download and run our local LLMs.
The first step is to run ollama. On macOS, simply double-click the app icon; on Linux, run ollama serve.
After that, we can download our model. The command is ollama pull <llm name> where the <llm name> is one of the available options on the ollama search page.
The models you can run depend on your GPU memory, and the speed at which they run depends on the GPU power:
8 GB of RAM available to run the 7B models, 16 GB to run the 13B models, and 32 GB to run the 33B models — Ollama Git
For my setup, I’ll use llama3.1:8b on the MacBook and gemma3:27b on the RX7900XT. These models strike a good balance between speed and output quality relative to the hardware involved. If you’re unsure about your GPU memory, try using gemma3:1b; it should be small enough to run on modern smartphones.
Direct Use
Now that we have ollama and a local LLM installed, let’s try using them. The easiest way to do this is to use the command ollama run <llm name>, where the <llm name> is the name of the model that we downloaded earlier.
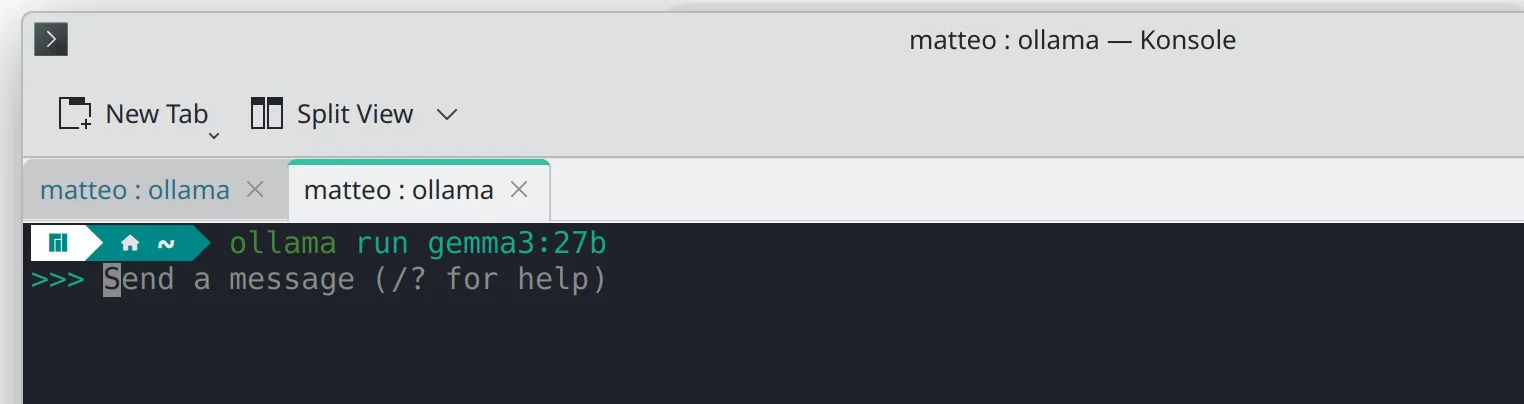
From here, we can interact directly with our model and assess its performance.
The video shows an optimal speed, which may seem a bit slow. If your results are significantly slower, it may be difficult to effectively use a local model.
If you did not start with a small model, try using an even smaller one.
If even gemma3:1b is not fast enough, your only options are to buy a new device, pay OpenAI, or switch to the latest free provider (ex. groq) and change it each and every time they go under or become unreliable.
Install llm cli
In order to install llm, you can follow their docs.
Alternatively, if you would prefer to skip the reading:
- Install
uvby following the instructions here - Add llm as a uv tool with
uv tool install llm
Once you have installed llm we need to enable ours LLMs:
- If you are following along with ollama, run the command
llm install llm-ollamato enable the ollama plugin, followed byllm models default <llm name>(where the<llm name>is the name of the model that you downloaded earlier) to set this model as the default. - If you used OpenAI instead, run the command
llm keys set openaiand enter your OpenAI key. - If you are using anything else, good luck and check if a plugin exists here.
llm Direct Use
Now that we have installed and set up llm, we can use it directly with the command llm "<prompt>", where <prompt> is the prompt we give to the model.
This is not really any better than using ollama or GPT directly.
Where llm shines is its ability to integrate seamlessly into your terminal. You can pipe the output of other commands directly to llm.
llm with templates
I find the ability to create commit messages and changelog entries particularly appealing. At work, I use the VSCode-Copilot integration, but at home, I prefer to run everything locally.
One option would be to pipe our git diff output and always add an additional prompt, such as ‘create a git commit’, but this would be inconvenient and time-consuming, especially if we want our commits to follow a specific structure.
To avoid repetition and create a custom, reusable prompt, we can use llm templates.
The basic idea is to create a template using the command llm '<prompt>' --save <template-name>, where <prompt> is a complex, long prompt and <template-name> is the name given to the template.
An example could be
llm 'Create a commit message for these git diff changes: ' --save commit-msgthen, we can use this template with the command llm -t <template-name>, where <template-name> is the name given to the template.
git diff | llm -t commit-msgWe can also use templates created by others. We can do this directly via a link
llm -t https://raw.githubusercontent.com/simonw/llm-templates/refs/heads/main/python-app.yaml \
  'Python app to pick a random line from a file'
Another option is to use the llm-template-fabric plugin to access the fabric collection of prompts.
We install it with llm install llm-templates-fabric and can then use it as follows:
git diff | llm -t fabric:create_git_diff_commitConclusions
The llm CLI is an exceptional tool that enables a wide range of workflows, limited only by our imagination.
As with LLMs in general, complex and precise prompts produce the best output, and creating an effective template can be challenging. The only way to achieve ‘perfection’ is through repeated iteration. Having an almost free local LLM helps reduce the cost of iteration and encourages exploration.
Furthermore, having complete control over prompt construction enables us to achieve our desired results without paying for abstractions, thereby improving our understanding of LLMs.